
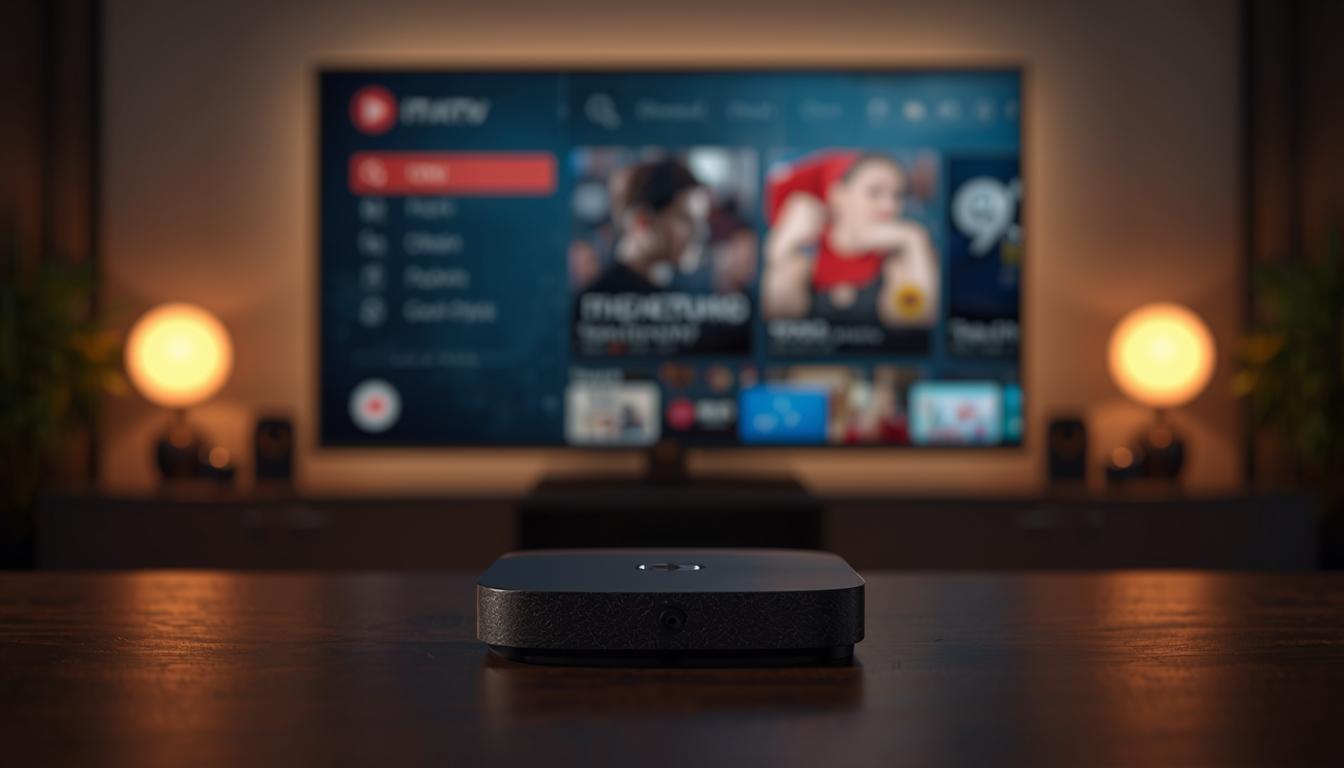
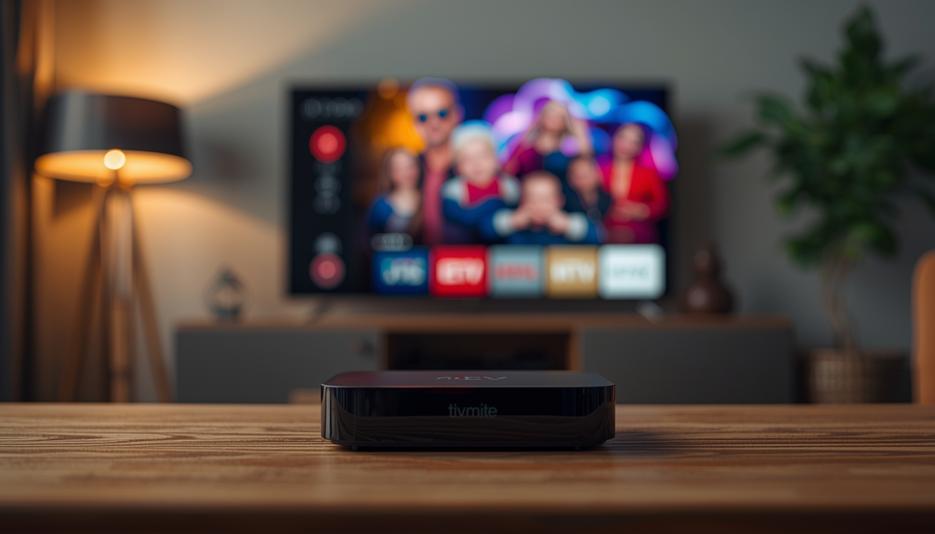
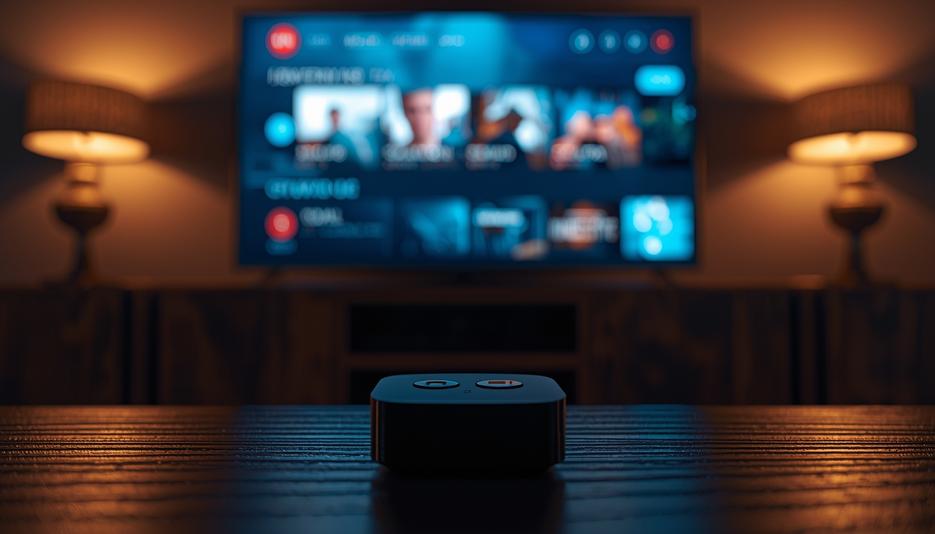
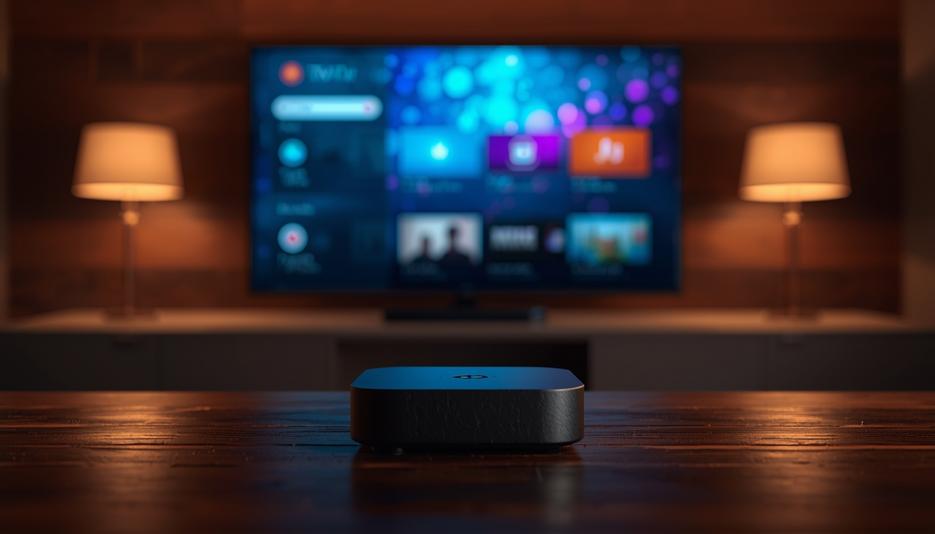
TiviMate stands out as one of the premier IPTV players for Fire TV Stick, Android TV, and other compatible devices. For users looking to maximize their IPTV experience, adding channels to TiviMate is a straightforward process that unlocks extensive content libraries. This complete tutorial walks you through each step of adding IPTV to TiviMate efficiently.
Before diving into TiviMate setup, it’s important to have a reliable IPTV service subscription. Many Canadians choose iptv canada providers that offer stable connections and comprehensive channel lineups. Once you’ve secured your subscription, you’ll receive the necessary credentials (typically an M3U URL or Xtream Codes login) required for the TiviMate configuration process we’ll cover in this guide.
What is TiviMate?
TiviMate is a sophisticated IPTV player application designed primarily for Android-based TV systems. Developed by Alex Peev, this application has gained popularity for its intuitive interface and robust feature set. TiviMate supports various IPTV formats, including M3U playlists, Xtream Codes API, and Stalker Portal, making it compatible with most IPTV services available in Canada.
The application is available in two versions: a free version with limited functionality and a premium version that unlocks all features. The premium version costs approximately $7.99 CAD annually and supports up to five devices on the same account, making it an economical choice for households with multiple streaming devices.
TiviMate distinguishes itself from other IPTV players through its customizable electronic program guide (EPG), advanced playlist organization, and multi-screen viewing capabilities. These features have established it as the preferred choice for IPTV enthusiasts seeking a premium viewing experience.
Key Benefits of Using TiviMate for IPTV
TiviMate offers several advantages that make it stand out in the crowded field of IPTV players:
Superior User Interface
TiviMate provides a clean, intuitive interface that resembles traditional cable TV guides. This familiar layout makes navigation straightforward even for users new to IPTV services. The customizable color schemes and layout options allow viewers to tailor the experience to their preferences.
Advanced Recording Capabilities
The premium version supports recording functionality, allowing users to record live TV broadcasts for later viewing. This feature is particularly valuable for sports events or special programs that air when you’re unavailable to watch them live.
Multi-Playlist Support
Unlike some IPTV players that limit users to a single playlist, TiviMate allows adding multiple playlists from different providers. This capability enables users to consolidate various subscriptions into one application, streamlining access to diverse content sources.
Catch-Up TV Integration
For services that support catch-up functionality, TiviMate offers seamless integration, allowing users to watch previously aired content without manual recording. This feature typically covers programming from the past 24-72 hours, depending on your IPTV provider’s capabilities.
Seamless Channel Switching
TiviMate is renowned for its quick channel switching, minimizing buffer time between channels. This creates a viewing experience similar to traditional television, which is a significant advantage for users who frequently change channels.
How to Install TiviMate on Your Device
Before adding IPTV to TiviMate, you need to install the application on your device. Here’s how to get started:
For Fire TV Stick:
1. From the home screen, navigate to the search function (magnifying glass icon)
2. Search for “Downloader” and install this application
3. Open Downloader and enter the URL: bit.ly/tivimate-latest
4. Follow the prompts to install TiviMate
5. Once installed, you can find TiviMate in your Apps & Channels section
For Android TV:
1. Navigate to the Google Play Store on your device
2. Search for “TiviMate”
3. Select “TiviMate IPTV Player” from the results
4. Click “Install”
5. Once installation completes, launch the application from your app drawer
For Android Smartphones/Tablets:
1. Open the Google Play Store
2. Search for “TiviMate”
3. Install “TiviMate IPTV Player”
4. Note that while functional, the interface is optimized for TV screens rather than mobile devices
After installation, you’ll need to decide whether to use the free version or upgrade to premium. While the free version allows you to add one playlist with limited features, the premium version removes these restrictions and enables additional functionality.
Adding IPTV to TiviMate Using M3U URL
The most common method for adding IPTV to TiviMate is through an M3U URL. Follow these steps:
1. Launch TiviMate on your device
2. If this is your first time, you’ll see a welcome screen; click “Add Playlist”
3. If you’ve already added playlists, press the menu button on your remote and select “Settings” → “Playlists” → “Add Playlist”
4. Select “M3U Playlist” as the playlist type
5. Choose “URL” as the source
6. Enter the M3U URL provided by your IPTV service
7. If your provider supplied an EPG URL, click “Add EPG Source” and enter it
8. Name your playlist for easy identification (e.g., “Main IPTV”)
9. Click “Next” and then “Add Playlist”
10. TiviMate will process and load your channels and EPG data
This process typically takes a few minutes, depending on the size of the playlist and your internet connection speed. Once completed, you’ll have full access to all channels included in your subscription.
Adding IPTV to TiviMate Using Xtream Codes
Many Canadian IPTV providers use Xtream Codes API for their services. Here’s how to add an Xtream Codes-based subscription:
1. Open TiviMate
2. Navigate to Settings → Playlists → Add Playlist
3. Select “Xtream Codes” as the playlist type
4. Enter the server URL, username, and password provided by your IPTV service
5. Name your playlist
6. Click “Next” and then “Add Playlist”
The advantage of using Xtream Codes is that the EPG is usually included automatically, eliminating the need to add it separately. Additionally, this method often provides better organization of channels into categories.
Configuring TiviMate for Optimal Performance
After adding your IPTV playlist, you can optimize TiviMate for the best viewing experience:
Playback Settings:
1. Navigate to Settings → Playback
2. Set “Use external player for VOD” to “Never” for integrated experience
3. Adjust “Channel switching mode” to “Auto” for optimal performance
4. Enable “Remember last channel upon exit” to resume where you left off
Appearance Settings:
1. Go to Settings → Appearance
2. Customize the TV guide appearance according to your preference
3. Adjust “TV guide size” to match your screen size and viewing distance
4. Set “Channel list size” to your preferred width
Recording Settings (Premium Only):
1. Navigate to Settings → Recording
2. Set your preferred recording location (internal storage or external USB)
3. Configure “Default recording duration” based on typical program lengths
4. Enable “Add time margin” to capture content before and after scheduled times
These optimizations will ensure smoother navigation, faster channel loading, and an overall better viewing experience tailored to your preferences and device capabilities.
Troubleshooting Common TiviMate Issues
Even with proper setup, you might encounter issues when using TiviMate. Here are solutions for common problems:
Buffering Issues:
– Check your internet connection speed (minimum 25 Mbps recommended)
– In TiviMate settings, reduce stream quality to match your bandwidth
– Try using a wired ethernet connection instead of Wi-Fi
– Close other applications running in the background
– Consider using a VPN if your ISP is throttling streaming traffic
EPG Not Loading:
– Verify that the EPG URL is correctly entered
– Try manually refreshing the EPG data (Settings → EPG → Update)
– Increase the EPG timeframe in settings
– Check if your IPTV provider’s EPG service is operational
Channels Not Working:
– Verify your subscription is active and not expired
– Update your playlist (Settings → Playlists → Select your playlist → Update)
– Check if specific channels are temporarily down (common during live events)
– Try adding your playlist again with fresh credentials
Application Crashes:
– Clear the application cache (Device Settings → Apps → TiviMate → Clear Cache)
– Ensure your device has adequate free storage
– Update TiviMate to the latest version
– If using Fire TV, ensure the device isn’t overheating
TiviMate vs. Other IPTV Players
To provide context on why TiviMate has become so popular for IPTV streaming in Canada, here’s how it compares to other leading players:
TiviMate vs. Perfect Player
While Perfect Player has been a longtime favorite, TiviMate offers a more modern interface and smoother navigation. Perfect Player provides more technical options for advanced users, but TiviMate delivers superior ease of use without sacrificing functionality.
TiviMate vs. IPTV Smarters
IPTV Smarters is widely used by providers who offer branded apps. TiviMate provides more customization options and a more television-like experience, while IPTV Smarters excels at VOD organization. TiviMate’s channel switching is notably faster.
TiviMate vs. GSE Smart IPTV
GSE Smart IPTV works across more platforms, including iOS, giving it an edge in versatility. However, TiviMate offers a more refined user interface and better EPG integration for Android-based devices. TiviMate’s multi-screen function is also superior.
For most Canadian users, TiviMate represents the best balance of features, performance, and ease of use, particularly when paired with a high-quality IPTV service.
Frequently Asked Questions
Is TiviMate legal to use in Canada?
TiviMate is simply a media player application and is completely legal to use. The legality concerns may arise from the content accessed through the app, which depends on your IPTV service provider.
Can I use TiviMate with multiple devices?
Yes, the premium version allows usage on up to 5 devices under the same account. You’ll need to sign in with the same Google account used for the initial purchase.
Does TiviMate work with all IPTV services?
TiviMate works with most IPTV services that provide M3U playlists, Xtream Codes login, or Stalker Portal access. However, it’s not compatible with proprietary systems used by some providers.
Can I watch catch-up TV on TiviMate?
Yes, if your IPTV service supports catch-up functionality, TiviMate can access it. Look for channels with a clock icon in the guide to identify catch-up availability.
How often should I update my playlist?
Most TiviMate users set their playlists to update automatically daily. However, if you notice missing channels, performing a manual update is recommended.
Conclusion
Adding IPTV to TiviMate is a straightforward process that opens the door to an enhanced streaming experience. By following this tutorial, you can efficiently configure TiviMate with your IPTV subscription and take advantage of its premium features.
Remember that the quality of your experience depends not only on proper TiviMate configuration but also on selecting a reliable IPTV provider. Canadian users should ensure their chosen service offers good server coverage in North America for optimal performance.
As streaming technology continues to evolve, TiviMate regularly updates its features and compatibility. Keeping the application updated ensures you benefit from the latest improvements and maintain compatibility with evolving IPTV protocols.
Whether you’re new to IPTV or looking to optimize your current setup, TiviMate represents one of the most sophisticated solutions available for accessing IPTV content on Android-based platforms.
